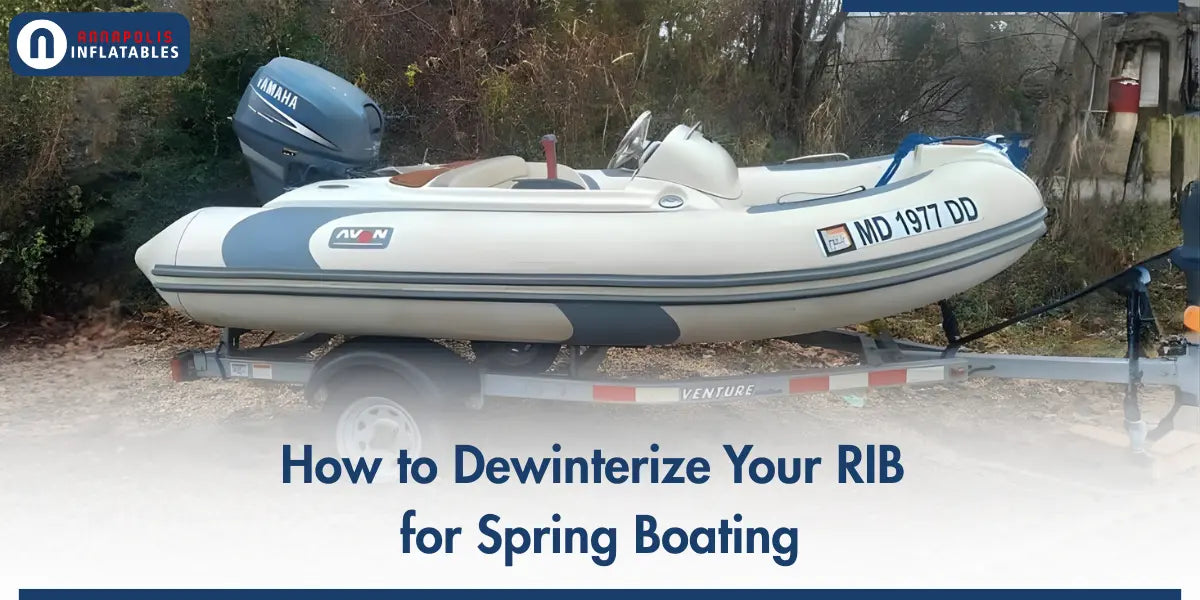
How to Dewinterize Your RIB for Spring Boating
Winter storage protects your investment.
But improper spring startup can undo that protection in minutes.
If you’re wondering how to dewinterize a boat properly, especially a rigid inflatable boat, this guide walks you through a detailed, RIB-specific process that protects your engine, tubes, fuel system, and safety equipment.
A thorough boat dewinterization is not just about getting the engine to start. It’s about preventing overheating, fuel contamination, seam damage, and early-season breakdowns.
Let’s break it down properly
Table of Contents
What Winter Storage Actually Does to a RIB
Before starting the dewinterization process, understand what months of inactivity can cause:
- Fuel degradation and ethanol phase separation
- Battery discharge and terminal corrosion
- Cooling system dryness and impeller stiffness
- Tube pressure loss and seam stress
- Condensation in electrical systems
- Lubricant separation in lower units
A RIB has both rigid and inflatable components. That combination requires more attention than a standard fiberglass hull.
8 Step Guide to Dewinterize the Boat for Spring Boating

Step 1: Inspect the Hull and Inflatable Tubes
Start with structure before mechanics.
Check Tube Condition- Inspect for abrasions or dock rash
- Examine seams for glue separation
- Look for discoloration or dry patches
- Check valve integrity
If your RIB has PVC tubes, inspect closely for brittleness. Hypalon handles winter better but still requires seam inspection.
Understanding the material makes a big difference in how you inspect, inflate, and maintain your RIB. Read our detailed guide on why Hypalon often outperforms PVC in durability, UV resistance, and long-term value. Why Go with Hypalon Over PVC for Your Dinghy
Re-Pressurize GraduallyInflate tubes to about 80 percent first. Let them sit for several hours before bringing them to full operating pressure.
Temperature affects tube pressure significantly. Inflate based on spring air temperature, not summer specs.
Rapid pressure loss may indicate:- Valve core leaks
- Micro seam failure
- Temperature drop effect
Step 2: Reinstall and Test the Battery
A weak battery is one of the most common spring failures.
- Clean terminals with a corrosion brush
- Inspect cables for stiffness or cracks
- Fully charge before reinstalling
- Test voltage under load
12.6 volts is ideal at rest. Anything under 12.4 volts may cause starting hesitation.
Reconnect electronics and test:- Navigation lights
- Bilge pump
- Console displays
- VHF radio
Condensation inside console compartments is common after winter.
Step 3: Check the Fuel System
One of the biggest risks during dewinterizing your boat is old fuel.
If ethanol fuel sat untreated, it may have separated. This causes poor combustion and internal varnish buildup.
What to Do if Ethanol Fuel is Separated:- Inspect fuel lines for cracking
- Replace fuel filters and water separators
- Check primer bulb firmness
- Consider draining old fuel if untreated
Burning degraded fuel can clog injectors or carburetors quickly.
Step 4: Dewinterize Boat Motor (Outboard Focus)
Now we move to the engine.
Properly dewinterizing an outboard motor is critical to avoid overheating and internal damage.
Inspect the Exterior of the Outboard- Remove engine cover
- Check wiring for rodent damage
- Inspect hoses for brittleness
- Look for corrosion buildup
- Inspect gear oil for milky color
- Replace gear oil if needed
- Remove the propeller and check for fishing line around the shaft
Fishing line wrapped around the shaft can destroy seals.
Cooling System CheckIf the impeller was not replaced before storage, consider replacing it now.
A neglected impeller costs relatively little. An overheated engine can cost thousands.
Before starting the cooling system check:- Attach a flushing hose
- Ensure a strong water supply
When running, confirm a steady telltale stream. If the stream isn’t steady, it may indicate:
- Blocked cooling passages
- Impeller wear
- Thermostat restriction
Step 5: Steering and Controls
Check throttle and shift controls for smooth movement.
Stiff shifting may indicate:- Cable corrosion
- Dry linkage
- Internal cable binding
- Inspect the fluid reservoir
- Check for leaks at fittings
RIBs used in saltwater environments are especially prone to corrosion at control points.
Step 6: Safety Equipment Inspection
Spring launch is also a compliance check time.
Inspect the following safety equipment:- Life jackets
- Fire extinguisher pressure
- Expired flares
- Anchor and rode condition
- Navigation lights
Test bilge pump functionality by manually activating the float switch. Skipping this step creates real risk on the water.
Step 7: First Engine Start Procedure
Now you’re ready for a controlled startup.
- Prime the fuel system
- Ensure the kill switch is engaged
- Start the engine while connected to water
- Let it idle for 10–15 minutes
- Strong telltale water flow
- No warning alarms
- Smooth idle
- No excessive smoke
Blue smoke may indicate excess oil. White steam can signal water intrusion. Knocking sounds require immediate shutdown.
Step 8: Conduct a Controlled Sea Trial
Your first run should be short and close to shore.
During the trial, perform the following tasks:- Gradually increase the throttle
- Check steering response
- Monitor temperature alarms
- Confirm smooth shifting
- Reinspect the lower unit
- Check for leaks
- Verify tube pressure again
Tubes often expand once exposed to sunlight.
Completing these eight steps ensures your RIB is not just running, but running safely and efficiently. Proper dewinterization reduces the risk of early-season breakdowns, protects your engine from avoidable damage, and extends the life of your inflatable tubes.
Common Dewinterization Mistakes That Boaters Often Make
Avoid the following errors during boat dewinterization:
- Skipping impeller inspection
- Using old fuel
- Ignoring minor tube pressure loss
- Forgetting to test the bilge pump
- Starting the engine without a water supply
Each one can shorten engine life or create on-water failure
When to Consider Professional Dewinterization of Your RIB

- Milky lower unit oil
- Electrical system failure
- Persistent fuel contamination
- Cooling system irregularities
These signs often indicate deeper mechanical or structural issues that require specialized tools and experience to diagnose correctly.
For boaters preparing for spring in Annapolis or anywhere along Maryland’s Chesapeake Bay, scheduling a professional inspection before peak season can prevent mid-season downtime and costly repairs.
The service team at Annapolis Inflatables provides inflatable boat repairs, tube seam restoration, valve replacements, and comprehensive seasonal servicing tailored specifically to rigid inflatable boats.
If you’re located in Annapolis or elsewhere in Maryland, schedule your inflatable boat inspection or repair service with Annapolis Inflatables. We help you launch your RIB structurally sound, mechanically reliable, and ready for the season ahead.
Final Thoughts: Start the Season With Confidence
A proper dewinterization process protects performance, safety, and long- term value.
Taking the time to carefully dewinterize a boat motor, inspect tubes, and restore critical systems ensures your RIB performs the way it was designed to: stable, responsive, and reliable.
Spring boating should begin with confidence, not mechanical surprises.
If you need expert guidance, seasonal servicing, or professional inflatable repairs, our team at Annapolis Inflatables is ready to help.
We understand the unique needs of your rigid inflatable boats. Visit Annapolis Inflatables today!
FAQs about Dewinterization of your RIB
How long does it take to dewinterize a RIB properly?
For most RIB owners, a complete dewinterization takes between 3 to 6 hours, depending on engine size and storageconditions. If the boat was stored outdoors or unused for more than one season, additional time may be needed for fuel system and tube inspections.
Can I run my outboard without replacing the impeller every spring?
You can, but it’s not always recommended. If the impeller was not replaced during winterization and shows signs of stiffness or wear, replacing it before launch reduces overheating risk. Impellers are inexpensive compared to the cost of engine damage caused by cooling failure.
Why are my RIB tubes losing pressure after inflation?
Pressure fluctuations are often caused by spring temperature changes. However, rapid or repeated pressure loss may indicate valve core leaks, seam weakening, or micro punctures. Inspect valves first, then seams along stress points.
Is professional boat dewinterization worth it?
If you’re unsure about fuel quality, cooling system integrity, or tubecondition, professional servicing can prevent early-season breakdowns. It’s especially valuable for high-performance RIBs or boats stored for extended periods.